Printer - Joomla Template
Complete Joomla! Template
- Created: 11 may 2017
- by Joomlastars Team
- Email: Please email us through our themeforest profile
Thank you very much for supporting us by purchasing our template, i'll do my best to support you, if you have any problem, just comment me.
Warm Regards,
Joomlastars Team
Intro
There are 4 main folder/directory on this template package:
- Documentation: You read it now :D
- Extensions: It's Containing additional joomla module, plugin, and component.
- Quickstart: This directory contain the quickstart installer,
- Template: This directory contain the template installer,
If your site is new, you just need to install the Quickstart Installation
But if you have an existing site, and want to change your template please go to this section: Template Only Installation
Of course you also need Extensions Installation, do the Menu Setting, and set Set The Module
Quickstart Installation using ZIP File
There are 2 zip files inside installer folder. If you will build new site, please use this installation method. Quickstart Installation is full backup of demo site, so it contain joomla installation, extensions, template, and content. This type of installation is very recommended for the new site.
There are 2 method to upload your site:
- The most healthy for you, upload the all in one zip file, using ftp client software and extract it on file manager in your hosting panel like cpanel or directadmin. or you can use akeeba kickstart, please watch the manual here
- If your hosting panel can not extract the zip file and you don't want to use akeeba kickstart, you should extract it first on your PC and upload the extracted files using the ftp client software.
Then you can create your database name, username, and password, after that do the installation, see the images below and follow the steps :

Please make sure all Pre-installation Check are marked Yes
There are some hosting don't set Magic Quotes GPC Off, please read this http://docs.joomla.org/How_to_turn_off_magic_quotes_gpc_for_Joomla_3
If you use shared hosting and cannot found php.ini file, please create .user.ini file on the root of joomla folder and write this code inside
magic_quotes_gpc = Off
magic_quotes_runtime = Off
magic_quotes_sybase = Off

This is the place where you set your database.
After database installation is complete, please click on "Next Step" button.
Now it's time to set your site data, Site Parameters and Super User Setting.
You should click "Remove the Insalation Directory" button.
Please click "Visit your site's front-end" button.- Please enjoy.
Template Only Installation
If your have an existing site, and want to change the template, please use this installation method.
-
Template Installation
- Please go to extensions manager

- Upload Package File section template > highstand.zip file
- Click Upload and Install
- Please go to extensions manager
-
Extensions Installation
You also need to Install the additional joomla extension and K2 is the most important thing. You can use same step as above, you'll found all required extensions on this package.
Please note, we don't have right to distribute revolution slider plugin as is. If you want me to install it, please sent a request through contact form on my profile.
- Go to menu create new menu or use your existing main menu.

Please read Menu Setting section. - After you install all the required extensions and set the menus, please set the module as on the Module Position and Setting section.
Virtuemart Basic Setting
Please go to virtuemart > Configuration
- Please go to virtuemart > configuration > templates (tab) > Activate Css Styles & Javascripts, please uncheck Using the VirtueMart CSS and Using the VirtueMart jQuery

- Below is setting for pricing

We only tick on "Baseprice with Tax, but without discounts" and "Final salesprice" - You can set the others configuration as your need
Menu Setting
For this template we only need to set 3 menu type.
- Home: Please use "SP Page Builder > page" as menu type

Don't forget to set Home menu item as Default - If you don’t need the multilanguage, please disable “System – Language Filter” on plugin manager and “Laguage Switcher” on module manager first, then edit your menu.
- If you want to use multilanguage, please do this setting for all languages.
K2 Introduction
Blog and Portfolio of this tamplate layout is depend on this Component.
- Please go to components > K2 > Categories,
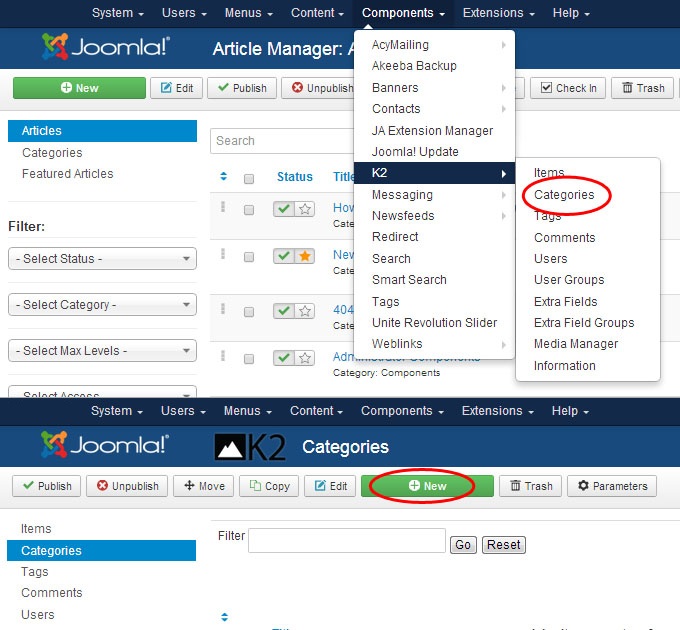
Firstly you need to create new K2 category first, and after all your category is set, you can start create new K2 items. If you want to use your existing original joomla article, skip create new category step, just go directly to K2 > items, and click Import Joomla! Content button, on the top, right below the menu.
- For further information please read K2 Documentation
Template Option
Highstand is easy to set with ton of options.
Before we talk about module position, It's better to set the layout on the Template manager > Highstand - Default
Logo
template setting > theme, you can choose "Logo Type" text or image
You also can select logo position on above mainnav
Navigation
You can choose your main menu type, Mega menu or using menu module, if you want to use menu medule please see the setting on module section.
Mega Menu Setting
If you want to built mega menu, please go to template manager > highstand on Style column > Megamenu.
Thememagic Setting
Easily edit color, font, grid, please go to template manager > highstand on Style column > ThemeMagic.
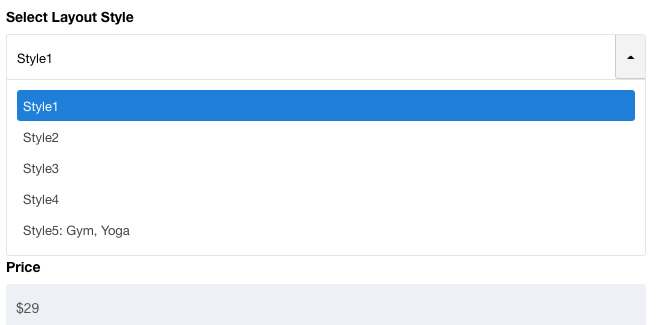
Layout
template setting > layout
- Position & Responsive Configuration : Please select the layout whatever home page and category page you would likw to use
- If you want to need another layout, you can set the layout first and save as copy or on template manager > duplicate Highstand.
Google Analytics code
template setting > Custom Code, Put it on Before </head> or Before </body>
After finished please click save and close
Page Builder
Printer is using Pro version of SP Page Builder by Joomshaper
printer has 50+ Addon, which is enough to build this amazing template
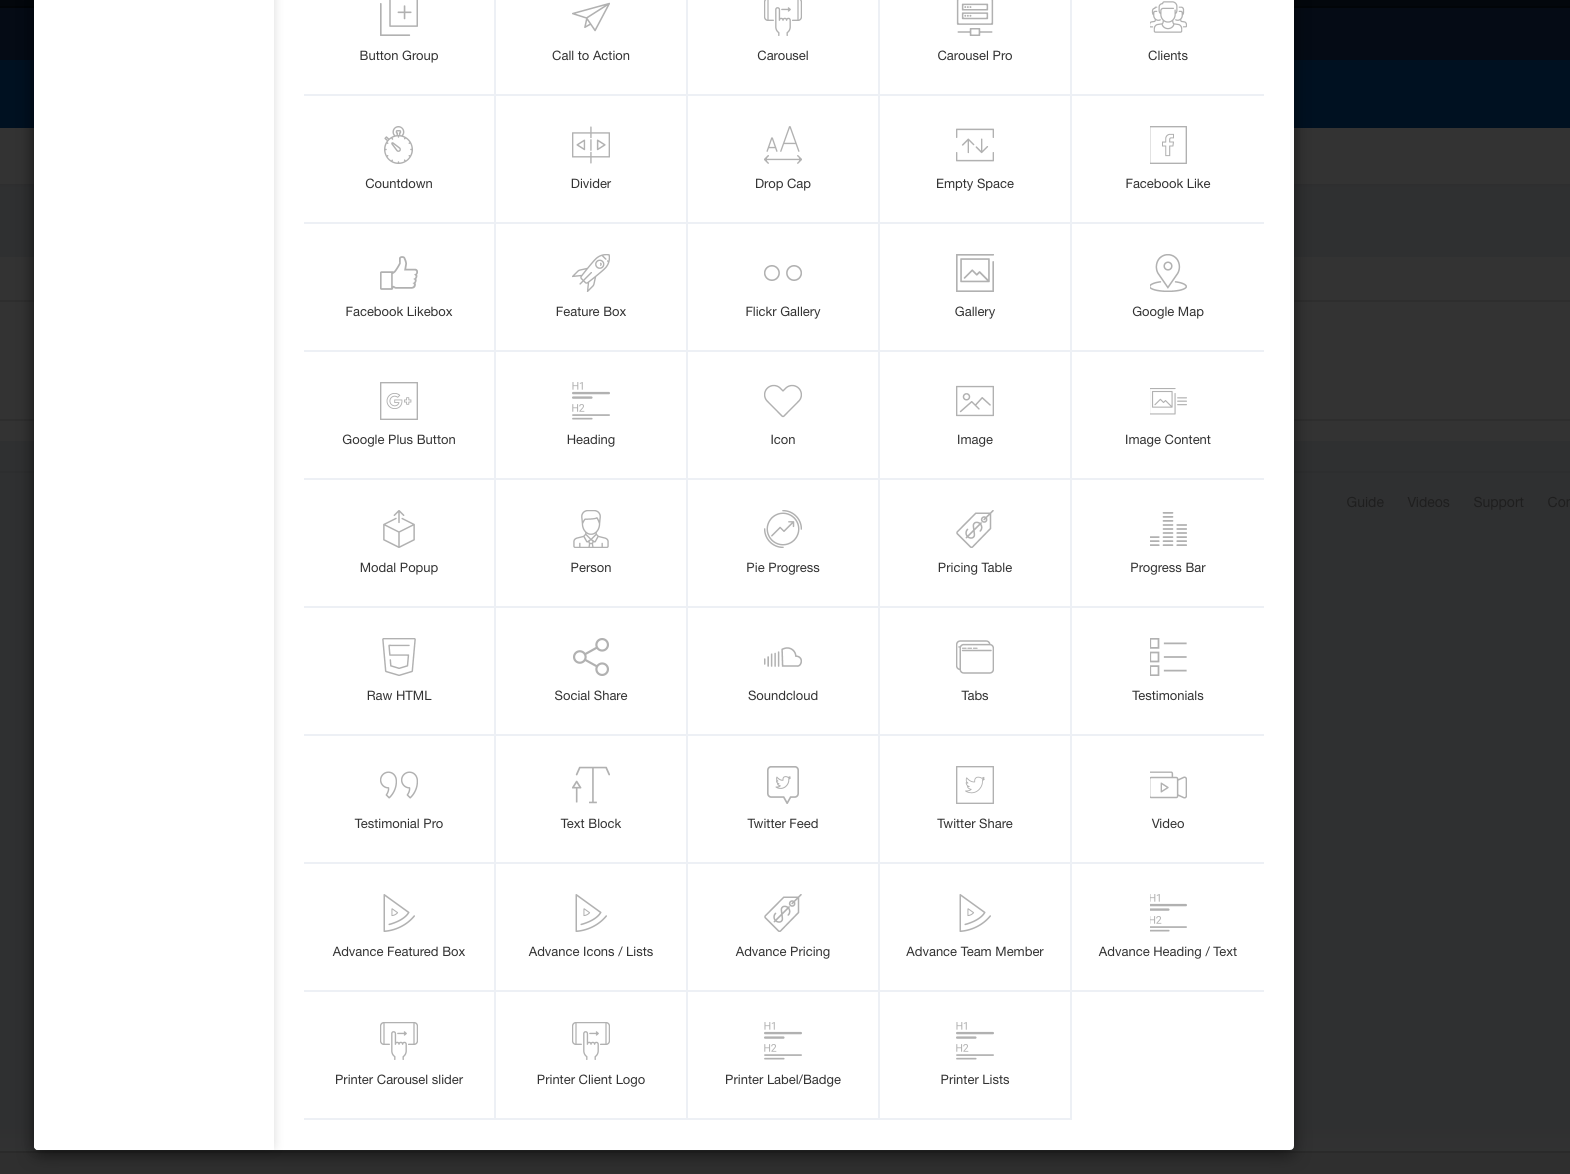
For further detail explanation, please read this section carefully
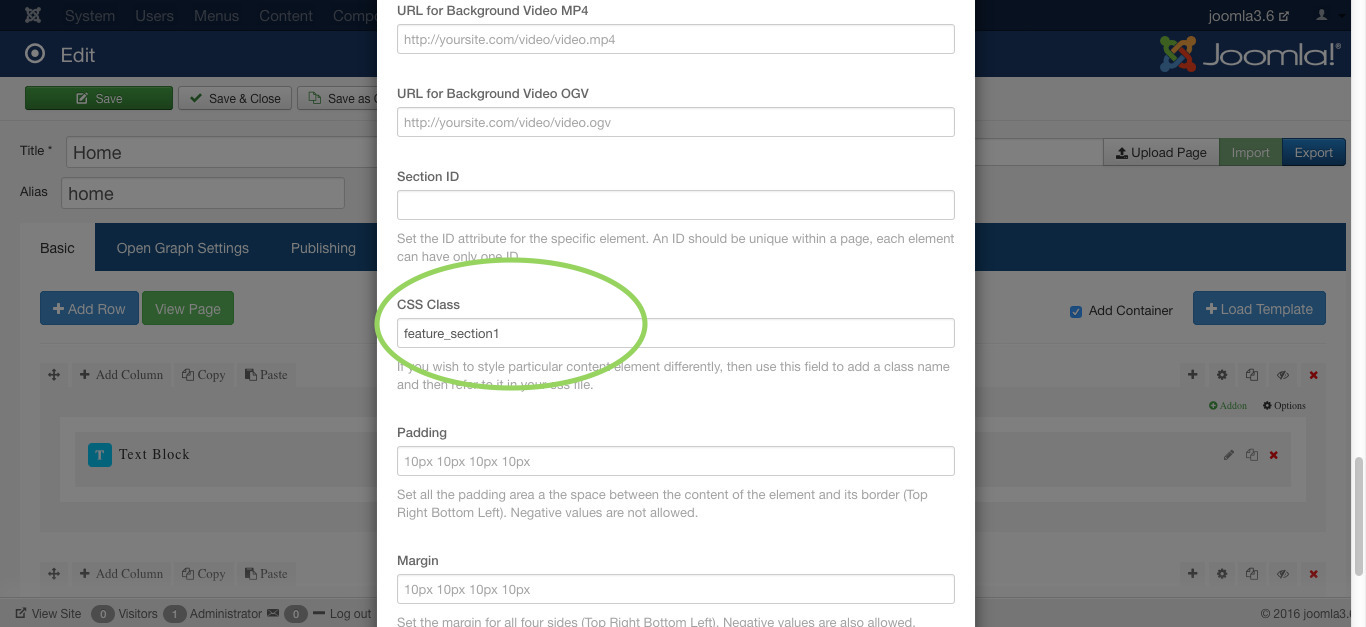
Basic Knowledge
Section ID for menu link can be added by clicking cog icon on each row, if you write portfolio as the ID, so the link on menu should be #portfolio
Background setting also can be found on Row settings, you may add the background image and set the other background parameters.
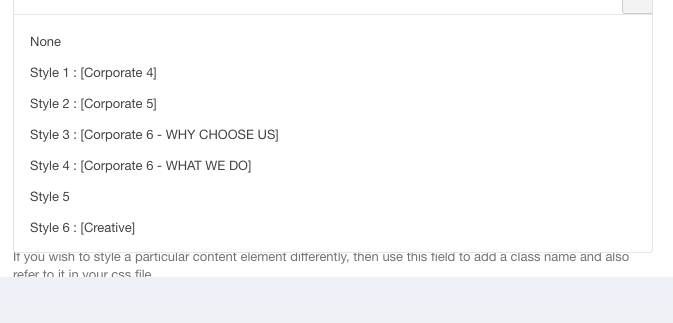
Section class can be added on Row settings.For each and every section we have added css class you can also add your extra class in it.
Printer Customised Addon List
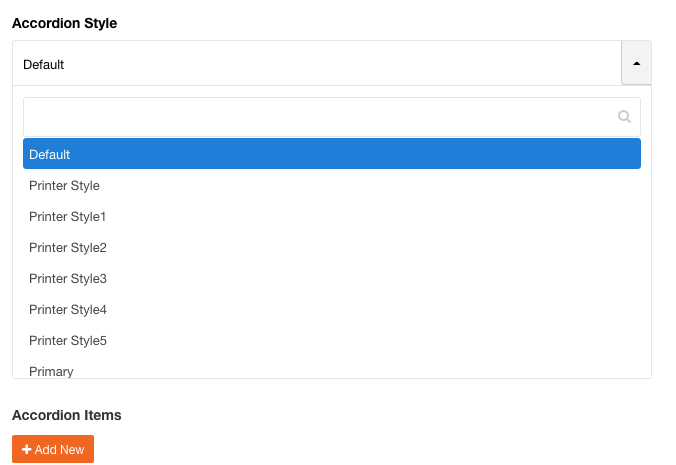
- Accordion
we added Accordion style options.you can refer Accordions sp page builder page for all Printer accordion style.
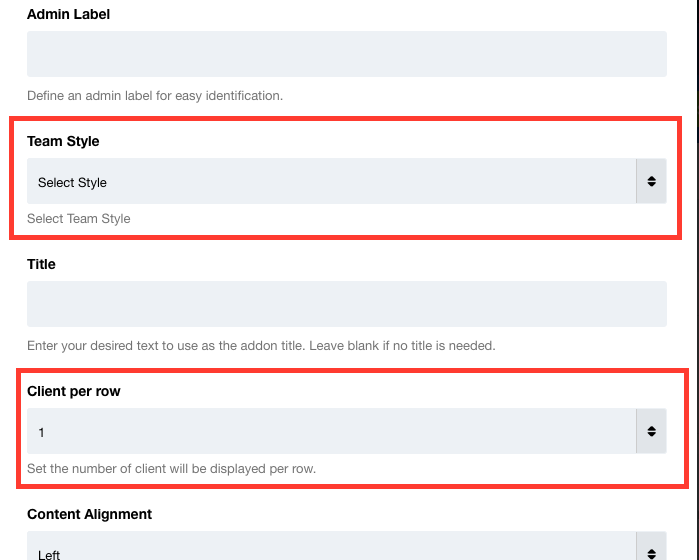
- Clients
we added Client style options.you can select client style according to your requirements.
- Pricing Table
we added Price style options.you can select Pricing style according to your requirements.
- Tabs - default SP Page Builder Addon.
we added predefined tabs style.you can refer List of Tabs sp page builder page from admin panel for all Tab style
- Advance Featured Box
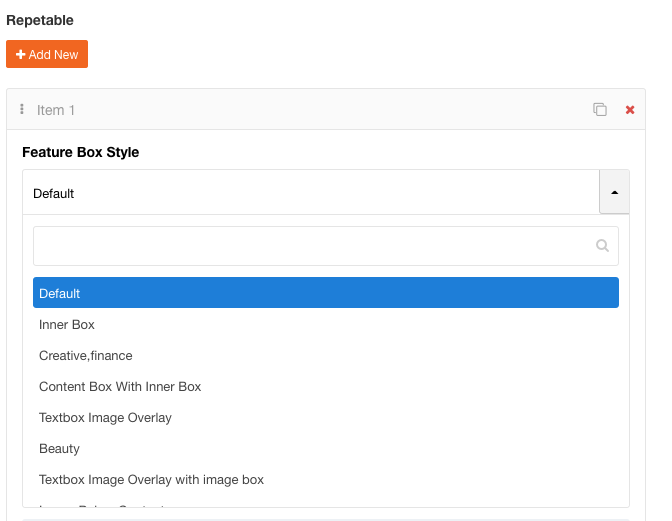
Advance Feature box Options- Admmin Label:Title of addon for admin panel.
- Parent Class:Advance featured box items class.
- Item:you can add more than one item by clicking on Add New button
Item has below Options- Feature Box Style:Select your featurebox style from dropdown.
- Title: Title for Featured Box.(After Adding the title you can select title attributes like title class,title Url etc..)
- Feature Layout Type: Select what type of layout you want icon /image/both or none.
- Featurebox Text: add description or text for feature box.(you can choose text box attributes like class and container type[h1/h2/h3 etc..])
- Featured Box Column:Select Coumn size.
- Advance Icons / Lists
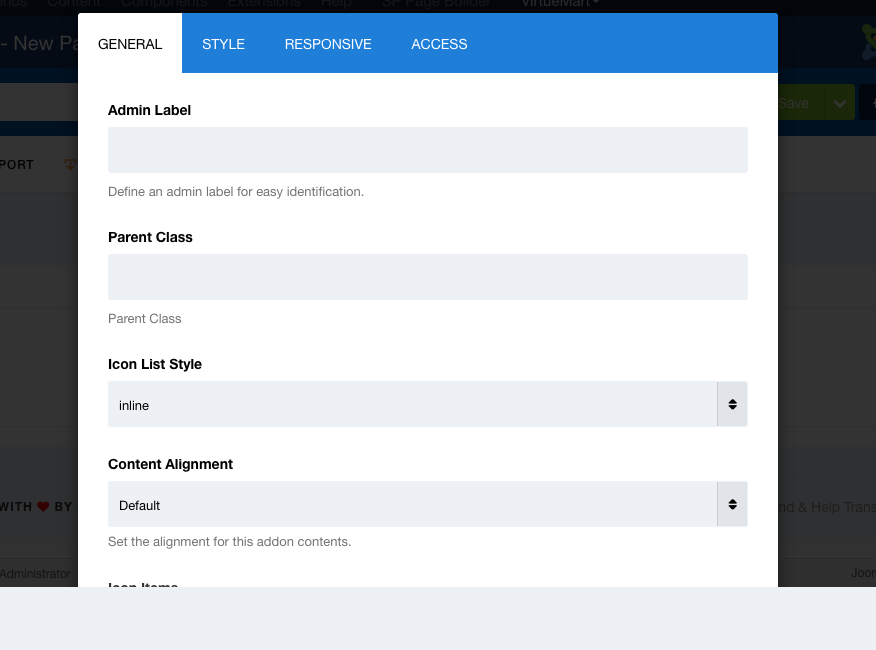
Advance Feature Icons Options
printer has used two type of icon font awesome and etline icons.you can use any of them.- Admmin Label:Title of addon for admin panel.
- Parent Class:Advance Icon/List box items class.
- Icon List Style:Select Icon Style.
- Icon Items:you can add more than one item by clicking on Add New button
Item has below Options- Title: Title for Icon.(After Adding the title you can select title attributes like title class,title Url etc..)
- Icon/Image Position: Select position of icon.if you want icon before title select before icon and if you want icon after title select after icon style
- Icon Attributes: you can set icon attributes like class and container type h1/h2/h3 etc
- Advance Heading / Text - printer has created advance version of heading addon.
- Printer Carousel slider
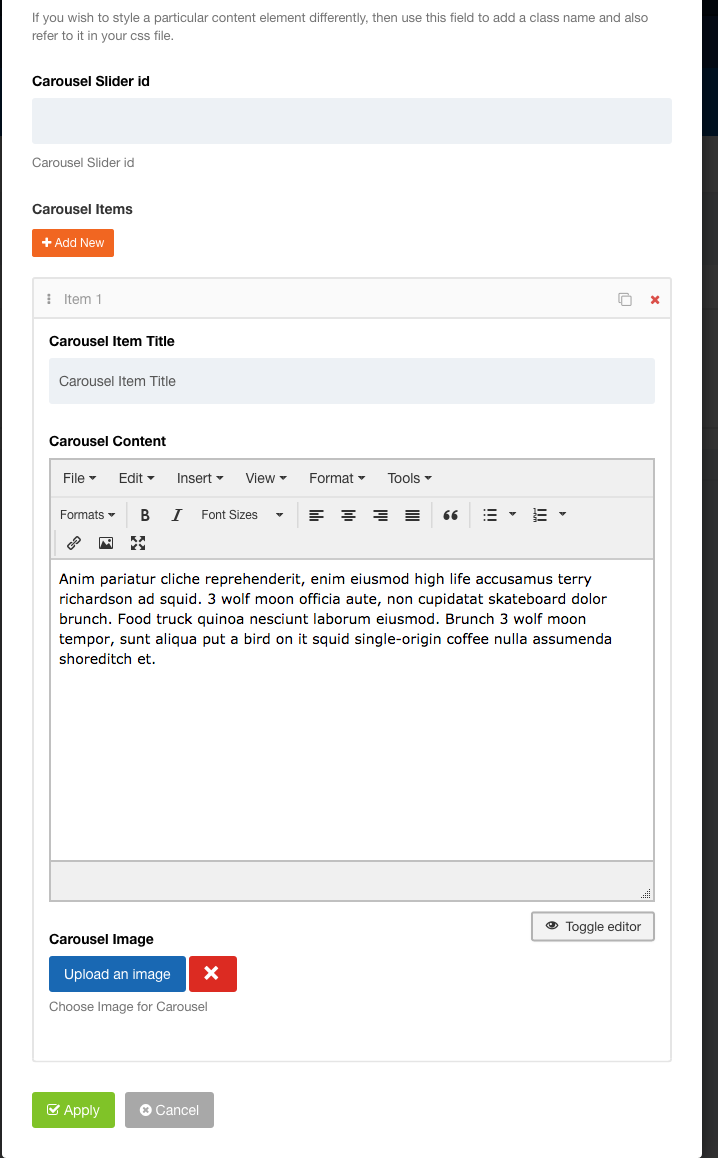
Printer Carousel slider Options- Admmin Label:Title of addon for admin panel.
- CSS Class :Printer Carousel slider items main class.
- Carousel Slider id :Printer Carousel slider items Id.
- Carousel Items:you can add more than one item by clicking on Add New button
Item has below Options- Carousel Item Title: Title for Carousel Item .(After Adding the title you can select title attributes like title class,title Url etc..)
- Carousel Content: add description or text for Carousel Slider.
- Carousel Image:Upload carousel Item image.
- Printer Client Logo
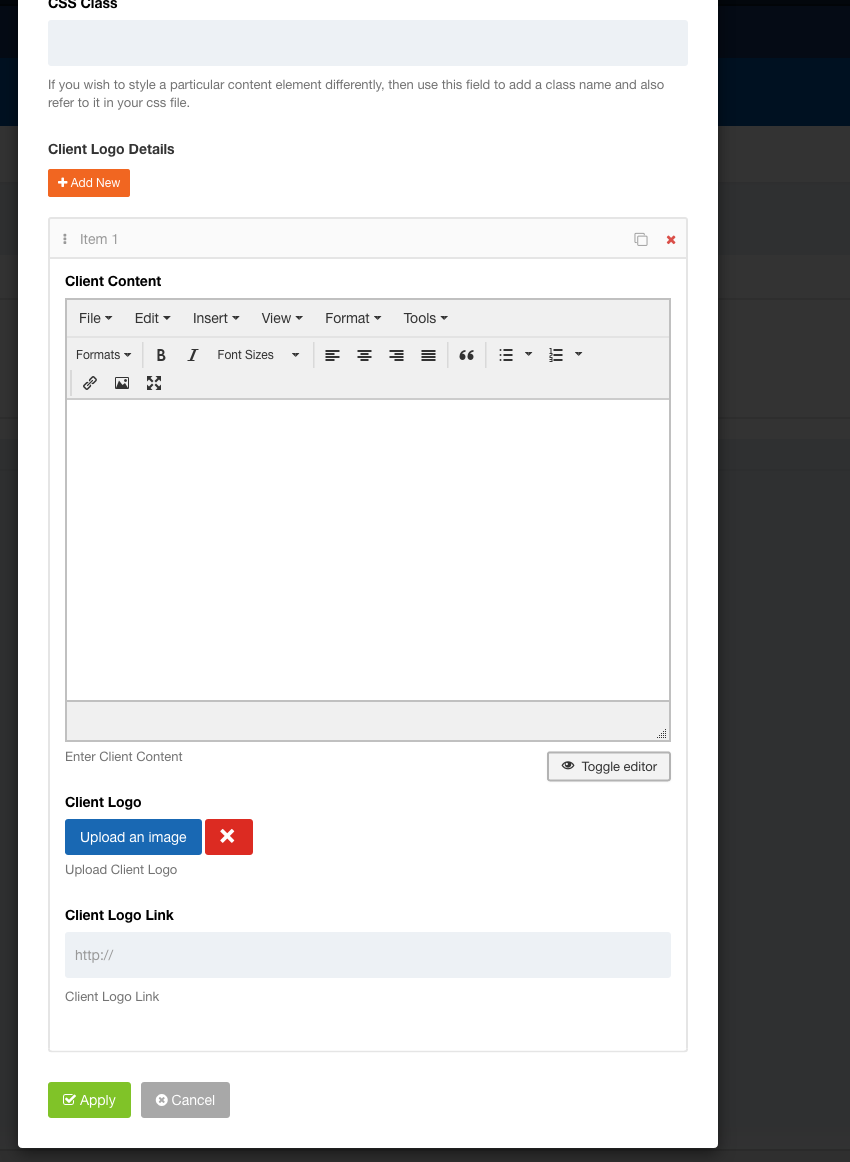
Printer Client Logo Options- Admmin Label:Title of addon for admin panel.
- Client Logo Style :Choose logo style with slider if you want client logo with slider and choose without slider if you do not want slider for client's logo.
- Logo Hover Style :Select logo hover style.this style appear when you hover on client's logo
- Css Class :Printer client logo main class.
- Client Logo Details:you can add more than one item by clicking on Add New button
Item has below Options- Client Content: add description or text for Client Logo.
- Client Logo:Upload client logo image.
- Client Logo Link:You can add URL for when click on logo it will redirect to this link.
- Printer Label/Badge
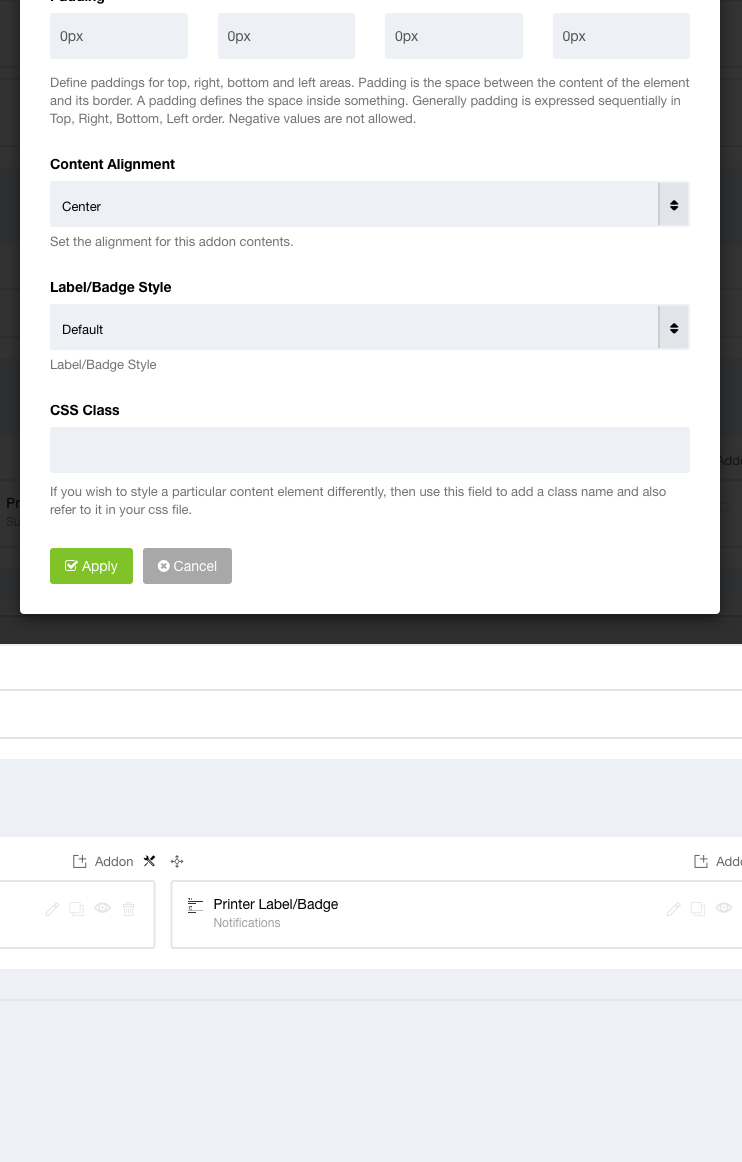
Printer Label/Badge Options- Admmin Label:Title of addon for admin panel.
- Title:Title of lable or badge.
- Label or Badge :Choose label style if you want to use addon as a lable or choose badge style if you want to use addon as a badge.
- Label Highlight Text :Enter text what you want to highlight.
- Title Attributes :You can select title attributes like title html element,font size ,font style etc..
- Label/Badge Style:you can select verious style from dropdown. Refere to sp page builder Labels and Badges page from admin panel.
- Printer Lists
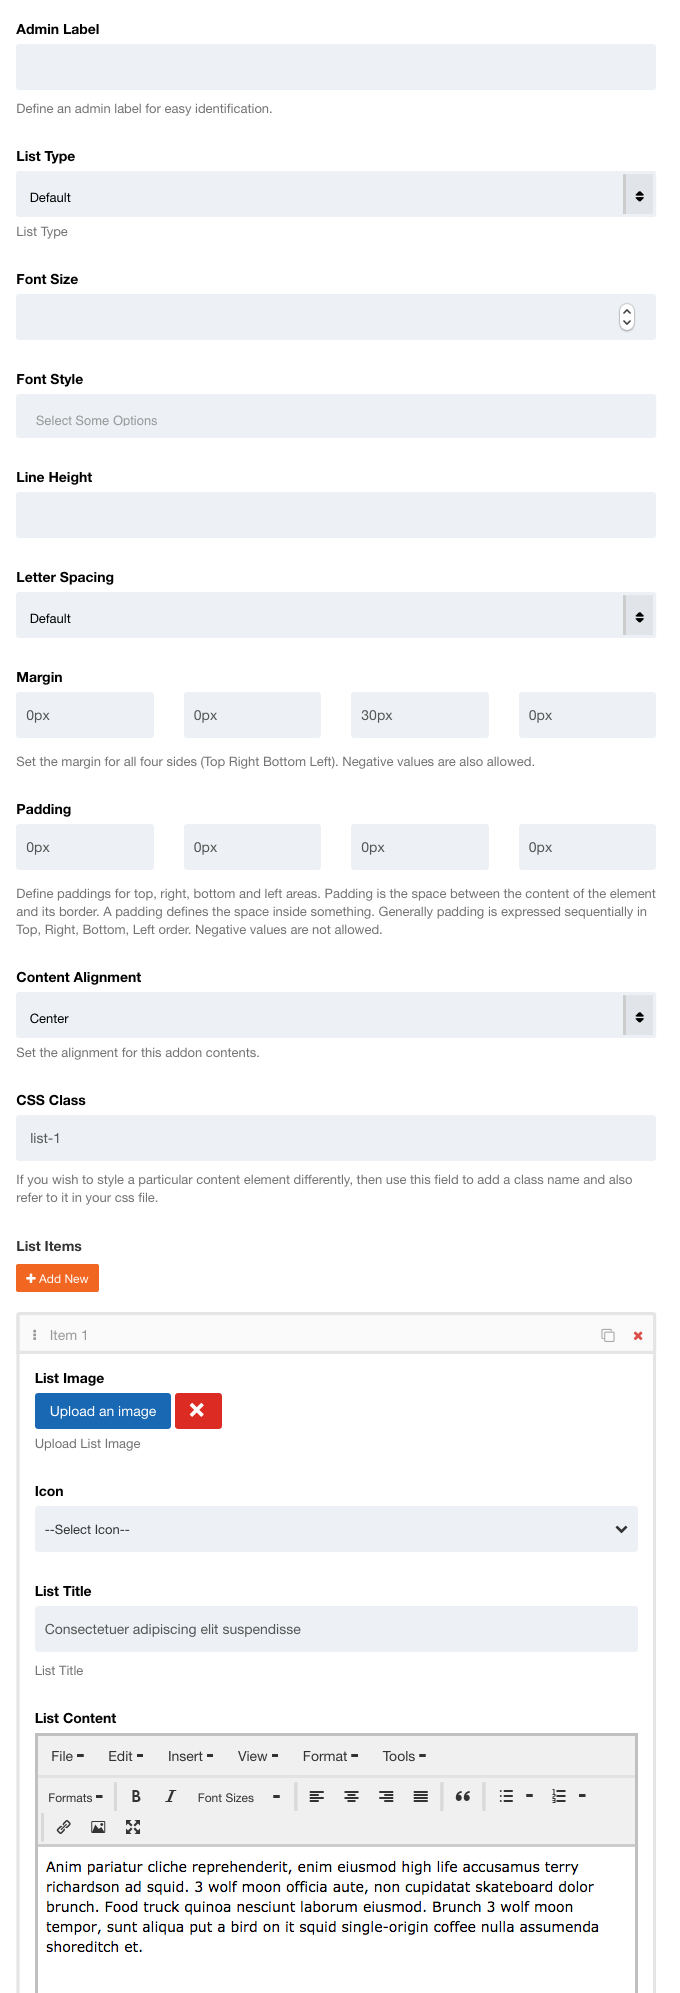
Printer Carousel slider Options- Admmin Label:Title of addon for admin panel.
- List Type :choose List type with image or with icon.
- List Attribute :You can set attributes like font size,font style etc..
- Content Alignment :Select Aligment type from dropdown
- Css Class :Printer List main class.
- List Items:you can add more than one item by clicking on Add New button
Item has below Options- List Image/Icon: if you have select list type than upload list image else choose icon from dropdown
- List Title: Enter Title of List.
- List Content: add description or text for List.
Module Position

If you use tinyMCE editor, please go to plugins > Editor - TinyMCE > Basic Options > Extended Valid Elements,

paste this code into text area "+i[*],+button[*],+a[*]", of course without quote ("). Font Awesome:Font Awesome List
For Video Iframe, still on Editor - TinyMCE, remove iframe from "Prohibited Elements"

That is the last result.
================================= || =================================
Even we use page builder, many section also built using module.
- Module Type: Unite Revolution Slider
Before you can use this module, please go to component > Unite Revolution Slider, create new slide

Slider Layout: Auto Responsive
Slider Size: 1600 - 650
For the other setting please watch this video
note: Please don't forget to set menu assignment each time you create or edit module, except if you use it for page builder, you may leave it blank.
Additional classes
Please refere theme-default.css which is located in templates/printer/css/
Folder Structure
- css > to hold default Core CSS Framework of the template styling. Please edit custom.css file if you want to add or edit the css
- etc > all layout backend configuration
- fonts > content all fonts file
- html > content all additional extensions override
- images > yup, you are right
- js > of course, it contain the js files
- language > module and template layouts.
- less > the less files are used for development mode.
- sppagebuilder > SP Page builder addon.
- tpls > Layouts for front end appearance.
Thanks to
Joomla Extentions